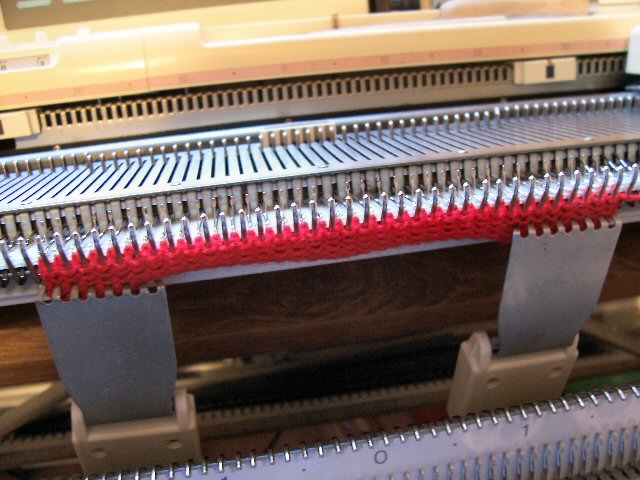
1. Cast on some knitting as per your pattern - this is 36 stitches, for the Penny Sock pattern, but as this is for a demo, I have not started with waste yarn and ravel cord.
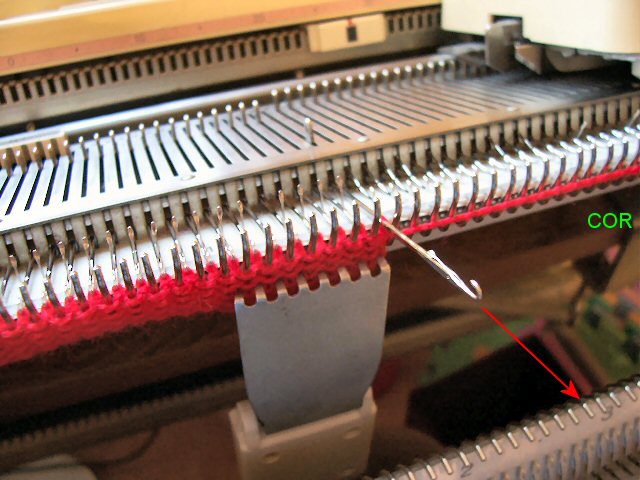
2. Set machine to HOLD. Pull needle nearest the carriage fully forward. K1 row.
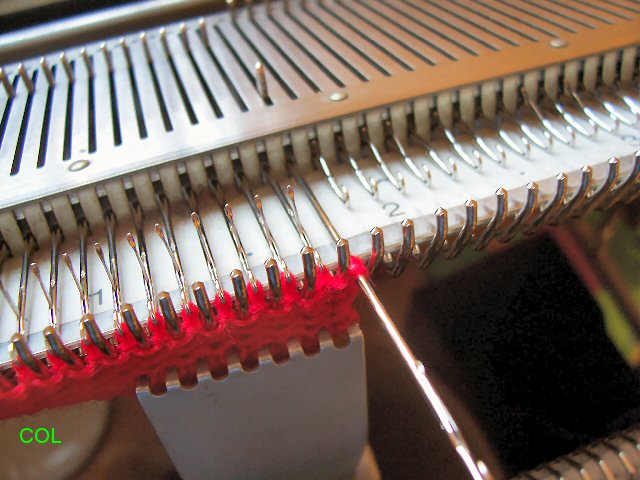
3. Your knitting should now look like this - note the extra "wrap" on the held needle.
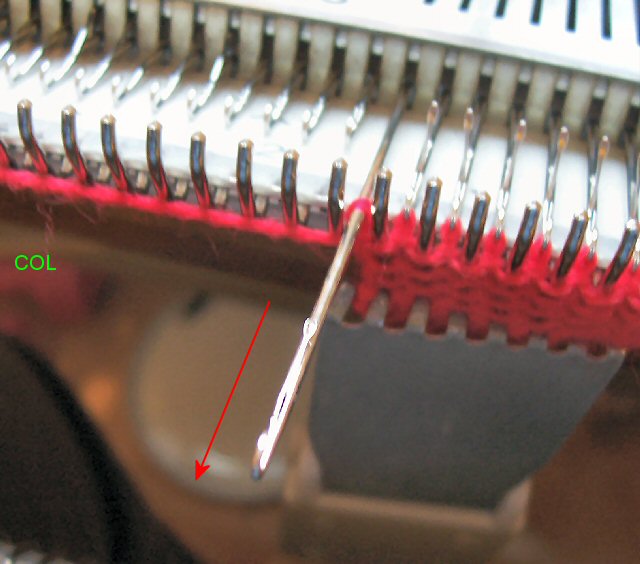
4. Pull needle nearest the carriage fully forward. K1 row. Repeat steps 2-4 until you have reached the end of the required shapings.
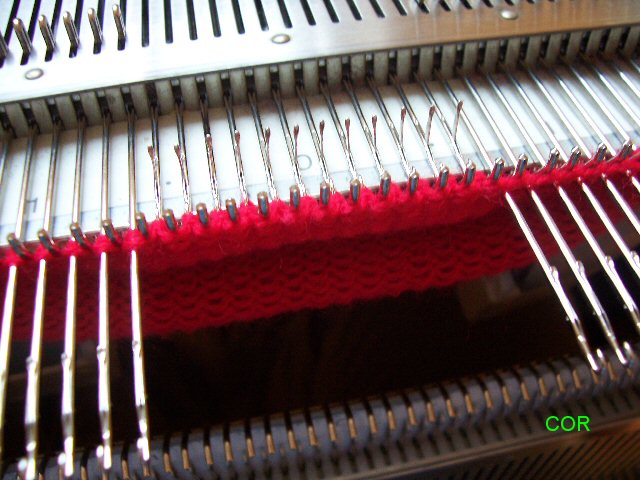
5. Your knitting should now look like this. In this case, you should have 12 needles in hold on both the left and the right sides, and the remaining centre 12 needles still in working positions. In other words, the point of the toe is a third of the width of the total knitting on the machine.
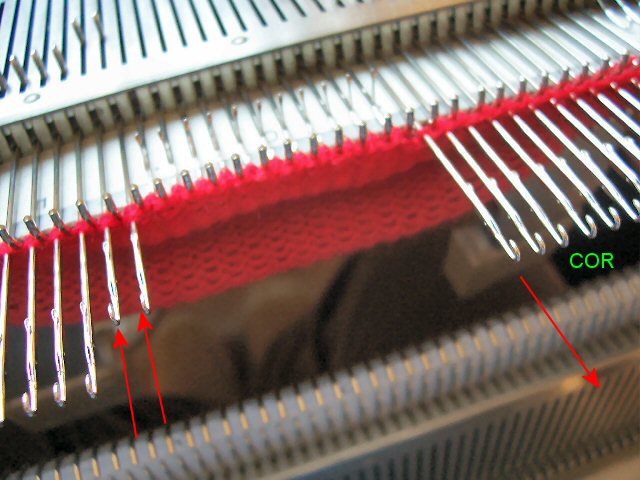
6. Pull needle nearest the carriage fully forward, and push two held needles on the opposite side back to upper working position (UWP). This will wrap the held needle, and knit back the pair in UWP. K1 row.
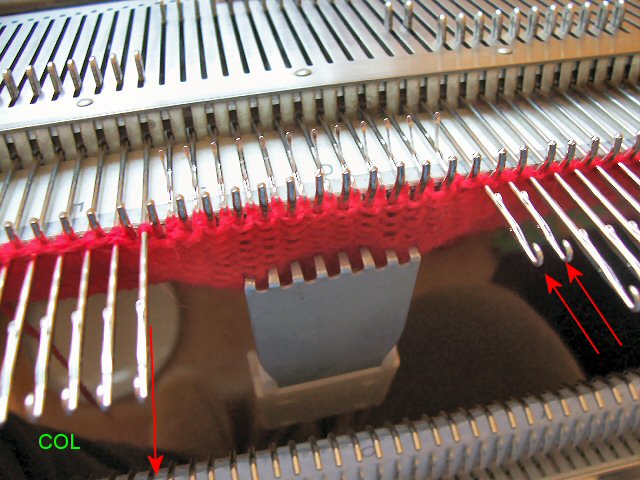
7. Pull needle nearest the carriage fully forward, and push two held needles on the opposite side back to upper working position (UWP). K1 row. Note the addition of a claw weight in the centre of the work - weights at the side will have no effect at this point, and because the knitting is only being added in the centre, it is liable to ride up.
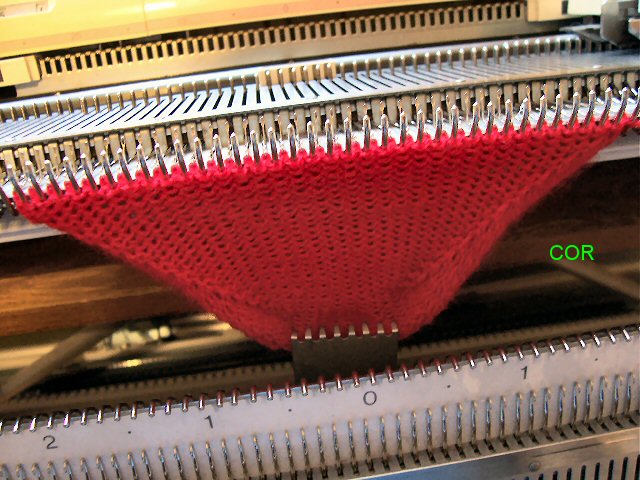
8. Repeat steps 6 and 7 until all needles have been returned to working position. Cancel HOLD and continue in pattern. At this point, in the penny sock pattern, the cast on row is hung onto the ribber bed and then the foot is worked in circular knitting.
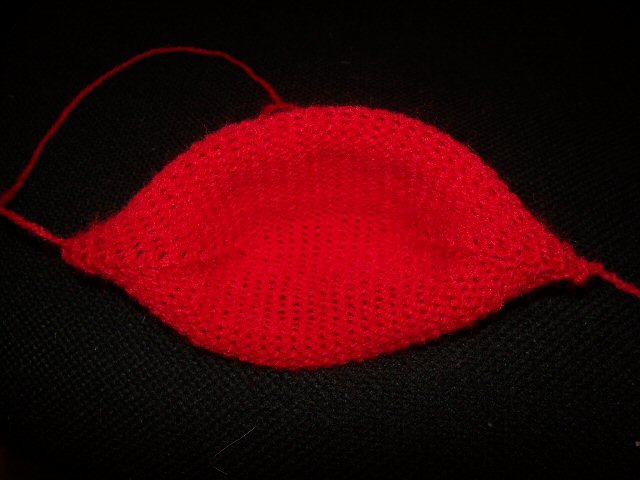
9. Sock "toe" from the purl side. Note the line of wrapped stitches either side of the toe. Apologies for the "loudness" of the red yarn - it's a grey day outside, so I am relying on indoor lighting today, and couldn't get a very clear picture.
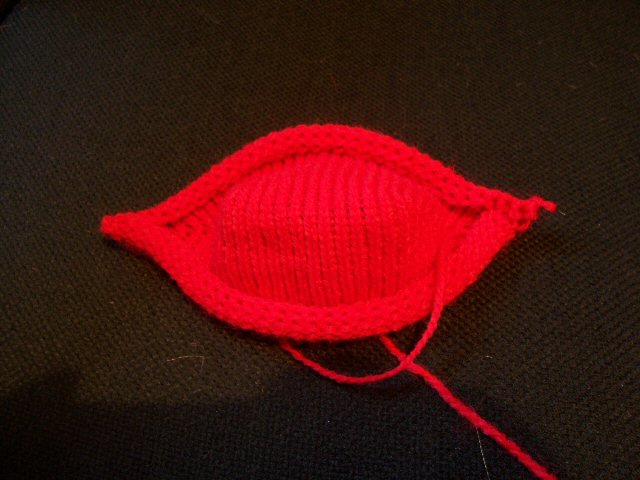
10. Sock "toe" - knit side.

3 comments:
Thank you so much for this wonderful description of the process of making a heel or toe. It finally makes sense, and I believe I can make heels and toes without holes.
Thanks for sharing
Thank you for this practical explanation, much appreciated. I can't wait to knit now. From a new machine knitter Cape Town South Africa
Post a Comment