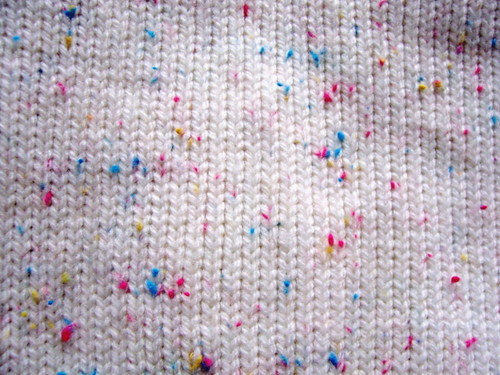
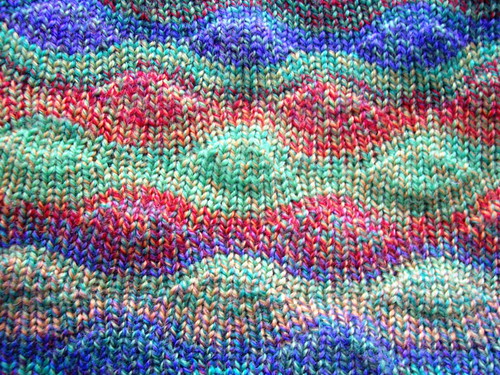
Well, this month's meeting of the Needles of Steel (Warks) MK club went ok, all things considered. I declared last month, in a somewhat rash manner, that I would demonstrate magic cables. So last week I had a quick hunt in various places and discovered that the only actual magic cable pattern I have is for the Passap (and the technique is different, it uses racking). Two copies of the same one, too!? As luck would have it, someone must have brought a pattern to the Manor House club a while back, and I sneakily photographed most of one page of it with my smartphone. So that was all I had to work with. That, and
a photo I found on Pinterest.
Magic cables is a technique by Ricki Mundstock - where you make faux cable effects by knitting with a tuck stitch card and manually hanging tucks on particular needles to produce the magic cable effect. The website disappeared sometime after June 2014 so is only available
here via the wayback machine. I think the patterns probably show up on Ebay from time to time. I think the pattern I used may have been from the Children's Collection, but it's a guess as I only had a picture of one page.
So the technique is a tuck one, a card that is mostly holes - a perfect job for the PM10 punching machine, seen here on the left.
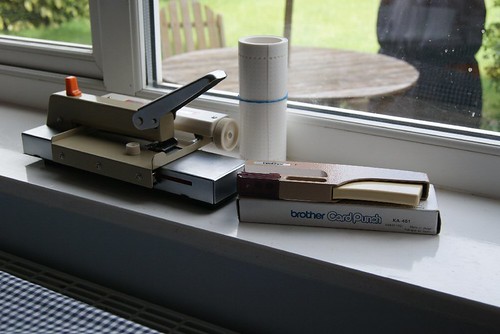
Now, this is a great little machine - a cross between a punch and a typewriter, it will punch or skip (via that orange knob) a row of holes fairly quickly. So that's a pro. The con is that it doesn't have the safety pilot pin that comes with the hand-held punch, so can quite easily punch a hole off-centre - and if you're near the end of the card, expect some drunken punching before you realise it's dropped off the cogs that hold the card in place. So I had to finish up with the hand punch anyway. Another con is that these machines are quite heavy and rather expensive.
Anyroad, I finally got the card done - with a few repairs, because I made a few mistakes - and started to try and knit the pattern. Bearing in mind I was working from a photograph of a pattern, I thought I'd read that the left hang-up was an 8 row repeat, and the right hang-up a 6 row repeat - it didn't work, it was confusing, and I ended up watching the needles on the card and letting IT tell me when to hang up the stitches, and then marking that with an arrow on the card. You have a three-row tuck that happens on one side, and then when another needle is back at B position for two rows, you hang that tuck onto it. Having blown up the photo today, the instructions are kind of correct - I was reading the 6 as an 8 - but you can't do a left hang AND a right hang every 6 rows (as the pattern states), it's either one or the other, not both. This technique works great on knitting machines that pre-select the needles to B and D for you (ie Brother and Toyota machines). For other machines, you'll have to learn to look for which needle to hang the tuck on. It'll have three loops on it.
The result - a panel of ordinary tucks in the centre, and a faux braided cable either side:

Whilst we were on the subject of faux cables, I demonstrated something Bob showed us at Manor House last month - a sewn cable. You knit stocking stitch with some needles out of work:
1111111.1111.1111.1111111 where 1 is a needle in work, and . is out of work.
and then using two ends of the same thread, sew from the left gutter (the out of work needle column) to the centre gutter, come out again about 4 rows higher on the right gutter and sew into the centre gutter again, repeat all the way up. Tighten the yarn and you get this:

You can see the thread at the bottom.
I got all of my yarn out of the knitting room, and invited my members to buy anything that took their fancy - this is what was left, which is now cluttering up the garage, much to the Cog's chagrin:
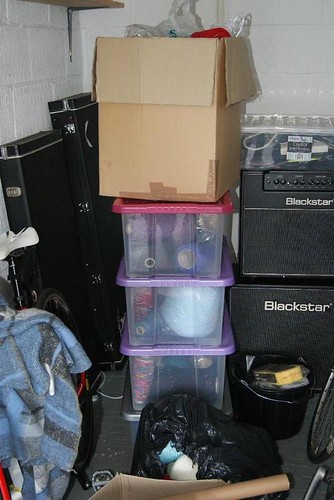
The destash would have gone much better if (a) I didn't have a major penchant for loud, space-dyed acrylic, and fancy yarns, that nobody else wants and (b) my Rav stash inventory was actually correct.
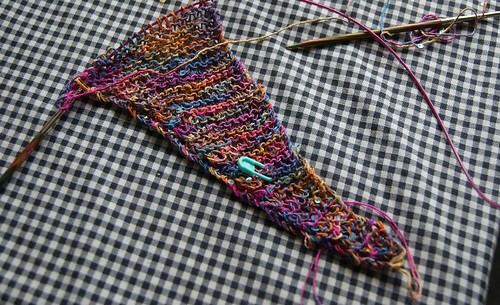
And in the interests of completeness, this is my final parked hand-knit project, a glittery shawl for the woman (me) who never wears shawls. Nope, the RSI or whatever it is has shown no improvement, so the cross-stitch is romping along at the moment.
 Current mood:
indescribable - having discovered what I have and haven't got in my actual stash, do I knit it up or offer it for sale online? Hmmm....

 devious