Showing posts with label double bed jacquard. Show all posts

Tuesday, October 25, 2022

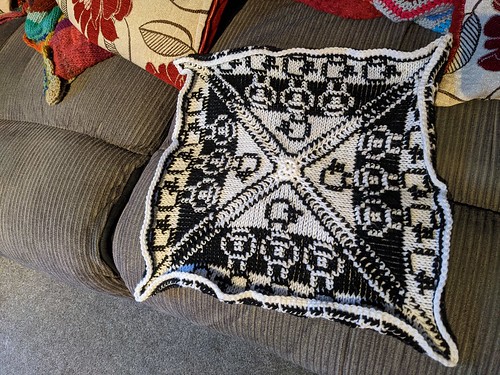
FO: Sheepy square and two scarves

PXL_20221025_065800210

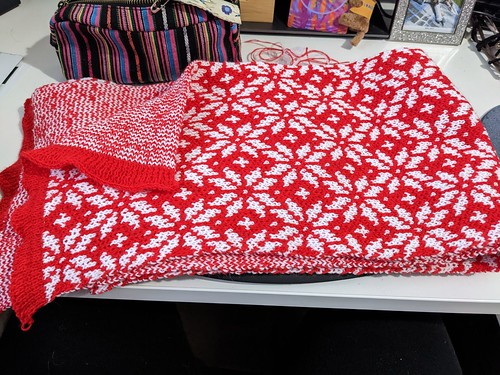
Another DBJ scarf, with the flared edge I'm not so keen on. Oops!

PXL_20221025_065832968

The finished basketweave crochet scarf. It's cosy!

PXL_20221025_065920166

The finished sheepy square. Feels as if it could do with either a smaller hook or a bit of decreasing around the edges, but this is unblocked acrylic at the moment...

Another new PM - that was fast! I shall say naught more - the news is an omnishambles that depresses, so I avoid it as much as possible. I'm more gutted that we have a partial solar eclipse but too much cloud to get a good enough view.

Current mood: happy

Tuesday, October 09, 2018

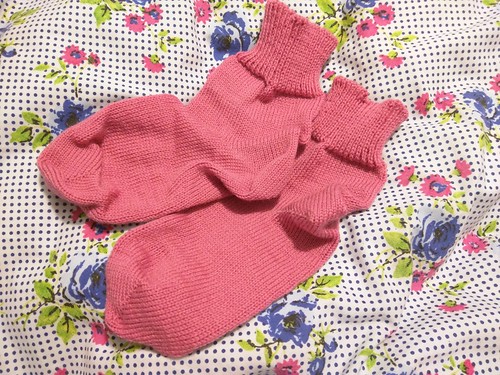
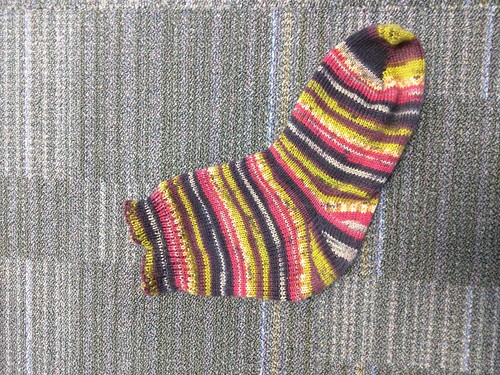
FO: more socks

IMG_20181009_214516

These could have been a bit longer in the ankle. Oh well, never mind!

IMG_20181008_121917

My first attempt at a more rounded heel - will see how these fare in practice, they feel a bit loosey-goosey at the moment.

IMG_20181009_214530

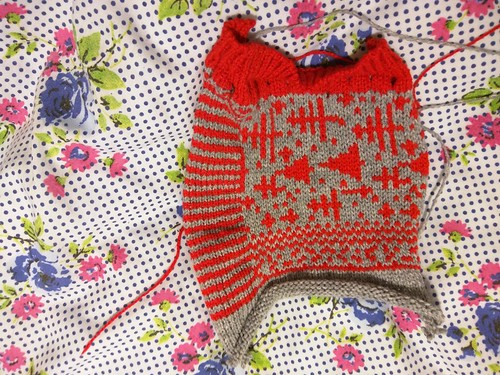
Testing my new toy - Silverlink 5 on the SK840. The stripes are because I can't count, and cast on too many needles. The yarn is on order, so xmas jumper here I come!

Current mood: excited

Saturday, February 13, 2016

Using modified double bed jacquard to control floats in a design

When the knitting machine manuals talk about double-bed jacquard, it's always full needle rib, which tends to mean finer yarns. The more colours you use, the thinner the yarns have to be - 4 colours requires 4 ends of 1ply - otherwise the knitting will be so stiff it won't knit off correctly. But there's a technique using only limited needles on the ribber bed, which allows you to convert fairisle designs with lots of floats into designs backed with a contrast yarn web - ideal for keeping fingers away from floats and damaging the knitting. Because you're using a lot less needles on the ribber bed, 4 ply yarns can be used, and the resulting tension is very similar to stocking stitch. I've seen it described briefly in "The Machine Knitter's Design Book" (Hazel Pope), and with a diagram in "Machine Knitter's Guide to Creating Fabrics" (Weissman, Lewis). It's something that's been on my "must-try" list for ages. Of course, doing it when I am pushed for time only ended up in a lot of knitting hitting the floor, and dbj being what it is, it's easier to start again.

The principle is this - you have all needles in work on the main bed, but only certain needles on the ribber bed - every 4th needle, perhaps. The ribber needles knit up the floats, and keep them under control. Because you are only knitting a few needles on the ribber bed, you can use your 4ply yarns and the tension is pretty much the same as for standard fairisle/stocking stitch, so you can use this for small areas of patterning on a plain sweater. You tend to get faint lines on the public side of the garment - if you are knitting a pattern with lots of verticals you can place these in such as way as to emphasise the verticals.

These instructions are for Brother electronic machines, but it would work on other machines I'm sure. Punchcard machine owners will have to repunch the pattern card for DBJ.

Method:
  1. Get some stocking stitch established on the machine (MT=8), and end with the carriage on the far left (on the rails, beyond the turn mark). Replace the sinker plate for the ribber arm connector and ribber carriage. Set ribber to slip in both directions, and set to half pitch.
  2. Install the colour changer. Set the machine to KRC not KH so it will convert the pattern to double bed jacquard.  Load your pattern. Press the orange button, this will show you which yarn feeder you should be using. Install the contrast yarn in feeder 2
  3. Set the carriage to KC1 (3pm) (end needle selection ON) and knit one row in main yarn (MY), COR
  4. Push both part buttons in, and knit back to the right.
  5. Select contrast yarn (CY) and set ribber to knit both directions, RT = 4
  6. Put every 4th needle on the ribber into work (ribber must be at half pitch) - when selecting needles, it's best to work outwards from the centre, and ideally you also want a ribber needle near both ends of the piece; knit 1 row carefully, hang ribber comb and weights, knit 1 row
  7. Select MY and set ribber to slip in both directions, knit 2 rows
  8. Select CY and set ribber to knit both directions, knit 2 rows
  9. Repeat rows 7 & 8 until pattern is completed. Use the 7 hangers as necessary to maintain the weight on the ribber stitches. 
  10. Hang ribber stitches onto corresponding main bed needles, ensuring that they stay IN FRONT of the main yarn stitch so that they do not show through on the front. Drop the ribber bed and replace the sinker plate for stocking stitch and carry on with main yarn only. 
Notes: 
  1. I always changed colour and THEN changed the ribber settings - so background, both switches up, knit 2 rows, contrast, both switches down, knit 2 rows. 
  2. KCii works ok for balanced fairisle patterns, but on my machine it would immediately strip the knitting off (from the right hand side) for patterns with large areas of colours. Also, the mesh backing is only attached at the colour changer end, so you would have to catch the right hand side in somehow when making up the garment. KCi works for all patterns so is the preferred "safe" option, plus end needle selection ensures that the mesh is attached at both ends. 
  3. You might find adding the fine knit bar helps. I'm not sure about the end stitch presser plates. 
  4. Knit dbj fairly slowly - you're asking the machine to do a LOT of work, and going too fast will result in errors in the patterning. When I stopped and visually checked every row, the needle selection was perfect. 
  5. The ribber should be set to a higher tension than the main bed - I ended up using T8 on the main and T3 on the ribber bed. It's also worth washing your swatches, because washing revealed some rather unsightly ladders when I was too loose on the ribber. In other words, the knitting had a kind of ribbed effect where the contrast yarn peeked through the knitting in stripes. 
  6. I tried hanging the heels of the previous main yarn row on the ribber, and then had to frog back and rehang after a mistake, and ended up with a neat row of holes in my knitting, hence my suggestion that you allow the machine to create the first row of ribber stitches in the contrast yarn. It might just have been that I should have frogged back another two rows and re-knitted them.
  7. Another tip - it can be a pain to keep having to restart your knitting when it goes wrong, so consider threading a lifeline through your knitting a few rows before starting this technique. I thread my double-eyed bodkin with ravel cord and thread it through every live stitch on the machine, and then use a clothes peg to peg it out of the way. It can be pulled out later with no effect on the knitting. 
  8. DBJ patterns containing solid lines of colour won't work - there's not enough weight on the ribber and it tends to strip off the machine. So avoid solid lines of one colour in your designs. 
Now, this isn't quite the method given in the books. I would have preferred to use that method, because you can keep the ribber set permanently to knit one way, slip the other and you can just concentrate on changing colours every two rows. Every time I tried it, the knitting would strip from the machine from the right hand end. I'm going to have to work on it. It's in the two published books I mentioned above, with pictures of the back - you get ladders where the colours alternate, 1 row black, 1 row white. It's also an industrial technique I've seen on the insides of many supermarket sweaters. So it must be possible - I just haven't quite figured it out yet. My technique gives you a mesh backing made from the contrast yarn only, which keeps the floats under control.

You can see I tried both methods on the swatch below - it's a pre-programmed stitchworld pattern that is unsuitable for fairisle as-is, due to the large areas of white:
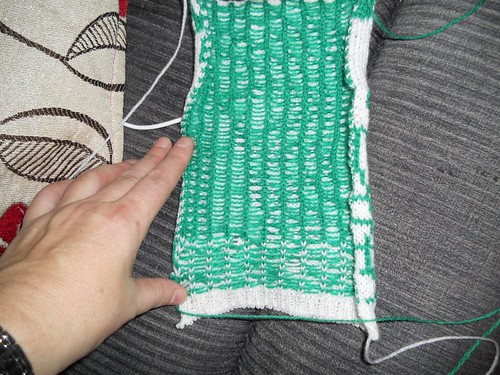
Picture 210

If you look at the right side, you can see small ladders in the first few rows (using the alternate colour backing technique). Using the method detailed above seems to remove these ladders.
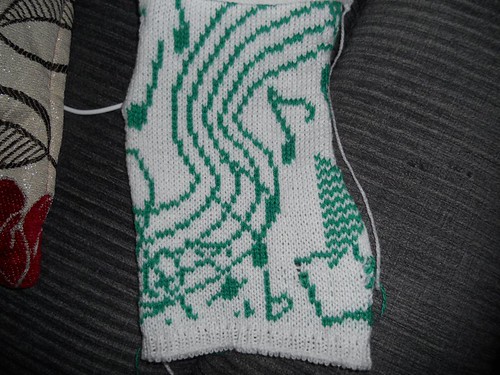
Picture 209


Monday, August 30, 2010

Experiments with double-bed jacquard

I created a DBJ cheat sheet based on a handout I used to have, not sure who did it originally. I've added two of my own versions - reversible and vertical lined backing. These were all done on the SK840/SRP60N, so I cannot produce the reversible version, as Silver machines do not pre-select for the next row. There are some pictures of a previous experiment with reversible backing here and here.

Two-row backing

2row_front
Front

2row_back
Back

Two-row backing tends to elongate the pattern somewhat, so you might have to adjust your pattern to compensate.

One-row backing

1row_front
Front

1row_back
Back

Plain backing

plain_front
Front

plain_back
Back

Bird's eye backing

birdseye_front
Front

birdseye_back
Back

Vertical striped backing

vertical_front
Front - went a bit wrong and dropped some stitches

vertical_back
Back

Sunday, November 16, 2008

Reversible DBJ - more information

Daria left a comment:

"At first I want to apologize for my bad english. I'm sorry for that! My mother is a enthousiastic knitter with the knitter machine, but she doesn't understand your explanation of reversible knitting. I tried to translate your explanation to her, with no sense. She still doesn't understand it, because I don't have a lot knowlege about revisible knitting, even about knitting itself! I find it hard explain to her what she has to do. That's why I am asking your help. Could you explain everything on an easier way, so she could be able to knit a shawl?"

The original post is
here

First of all, you need to be able to create ordinary double-bed jacquard with your machine. You need to familiarise yourself with this technique, otherwise the rest of the instructions will make no sense.

Normal DBJ on a knitting machine either has a striped backing, a plain backing, or if using the KR850 and lili buttons, a bird's eye backing.

I'll list the steps on a Brother machine - this only works on pre-selecting machines, eg Brother and Toyota.

1) Cast on for full needle rib, as per manual: knit 1 row (zigzag row) at T0, hang comb and weights, set main carriage to T1, slip/part left, ribber carriage T1, slip/part right. Knit 2 or 3 circular rows.
2) Cancel both slip settings. Knit a few rows full needle rib, ending carriage on left.
3) Set main carriage to KC (read the card). Put DBJ punchcard into slot and LOCK the punchcard on row 1. Knit 1 row to right.
4) Unlock punchcard, and set main carriage to slip both ways (both PART buttons in).
5) This is where the reversible patterning starts - set the ribber carriage to slip both ways ALSO. Pull up every needle that is opposite a gap on the main bed. For example:


(where I is a selected needle and o is a needle in normal position)

However, the machine must be set to HALF pitch, not full pitch, for full needle rib to work (otherwise the MB and RB needles will jam) - so in actual fact, the ribber is offset by half a needle:

(A) RB needles selected immediately to RIGHT of last selected MB needle in each group


This arrangement would also be valid:

(B) RB needles selected immediately to LEFT of last selected MB needle in each group


It doesn't matter which ribber needles you pick, as long as you are consistent, ie always follow rule (A) or (B).

6) Knit across to left, and into colour changer. Select next colour, and hand-select ribber needles as in step 5. Knit 1 row.

So, once you have got going, the sequence is:

Knit to right, select RB needles opposite empty MB needles.
Knit to left, change colour, select RB needles opposite empty MB needles.


Picture of machine during knitting. I pull the ribber needles fully upwards, so that I can quickly see if I have selected the right needles.

Caveat: This is a VERY time consuming method of producing reversible material. I've only ever done it just to prove it can be done, on small samples. You need to knit 4 rows in DBJ just to get two rows of actual knitting, and having to hand-select the ribber needles will make it take even longer.


Sample - reversible at bottom, striped backing at top.

For truly automatic reversible DBJ, you would need either a Passap E8000 (has computer-selected pushers on both beds) or a table-for-two like Wishknits used to produce - a special table and joining piece that allowed the user to connect two single bed machines opposite each other. I'd put the URL here, but they seem to have disappeared offline, alas.

As always, click for a bigger picture.

Tuesday, June 24, 2008

In progress: Debbie Bliss


This is going on Ravelry, too - a fairly clear pic of the cables on the back, 1.5 repeats of the larger pattern. There is a slight mistake in the trellis on the left but I think I'll let it stand.


Yes, it finally happened - a completely machine-knitted outfit. Well, asides from the undies. Technically my tights are machine-knitted, just not by me! heh!

Sunday, June 22, 2008

Passap week - more stash enhancement and FOs


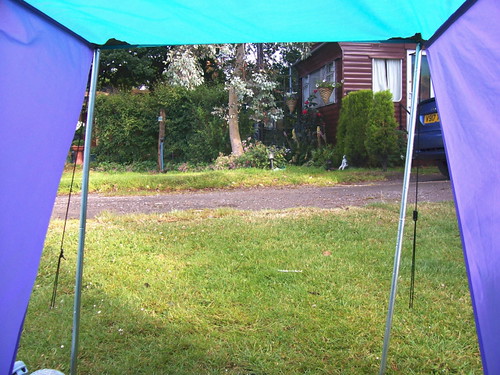
View from my tent. Bottom right - see dog derriere. You might need to click for a bigger picture...


Liberated some Deny's Brunton from Metropolitan. I love this stuff!


Some more Passap books for my collection, three Japanese pattern books and Japanese for Machine Knitters. I'm gonna need it! Not pictured - P Turbett's books on Cut and Sew, bought at the Guild day yesterday.


Tom was posing, desperately trying to get online. He is such a show-off. had to crop a few paws out of the individual stash shots I took for Ravelry


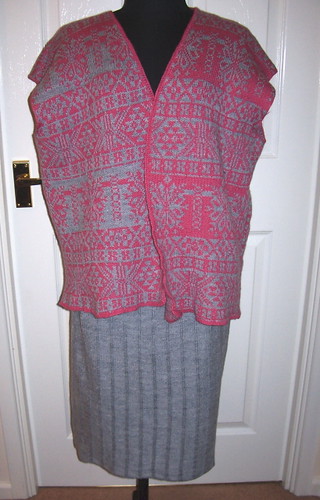
Finished waistcoat and skirt made on the course. No, I didn't get as far as making knitted knickers! :) If I needed an impetus to lose weight, having to make both of these garments in four pieces should be more than enough. I hate sewing up!

The waistcoat is in plain double-bed jacquard, Forsell's Shamal which is a wool-acrylic mix. The skirt is in long stitch - N/CX, which means the "ribs" are only knitted every other row.